Project Firebird


Body Work
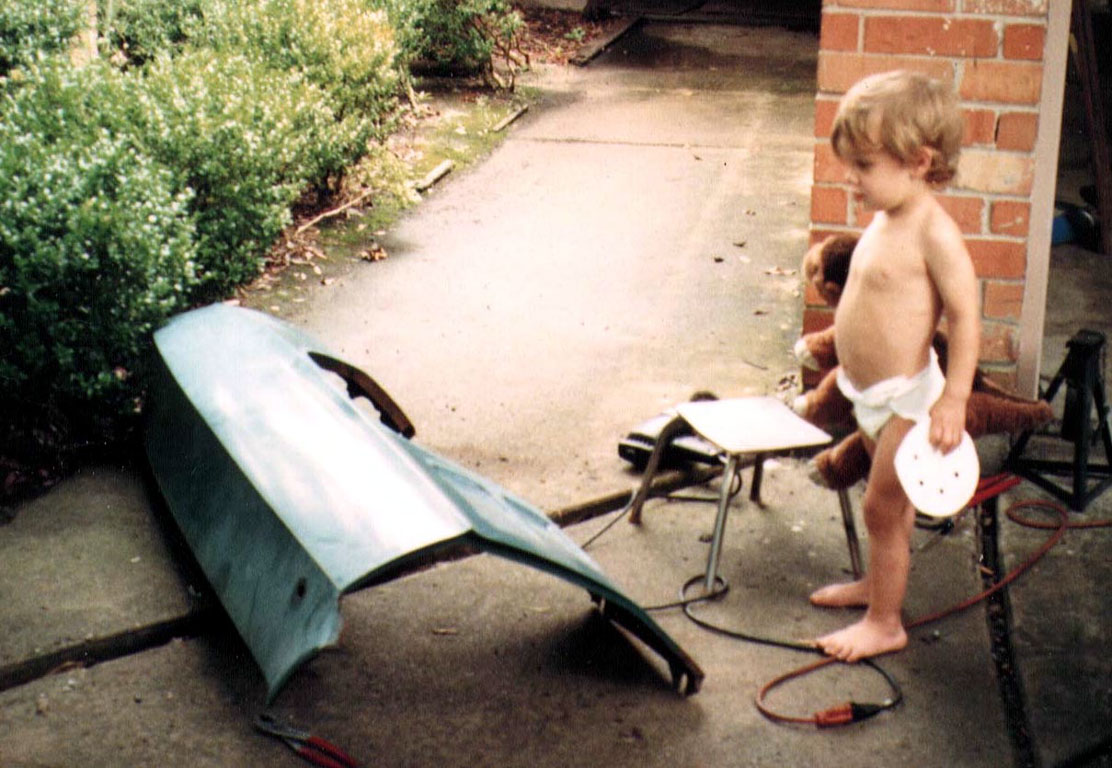
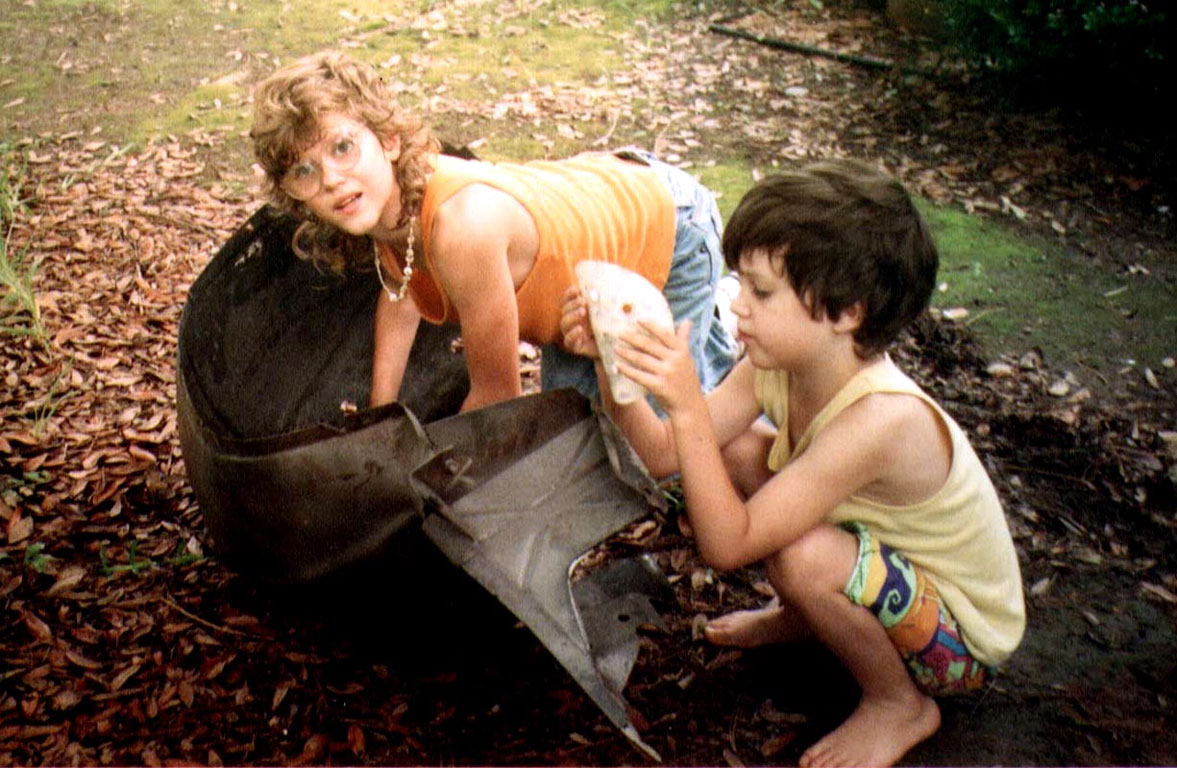
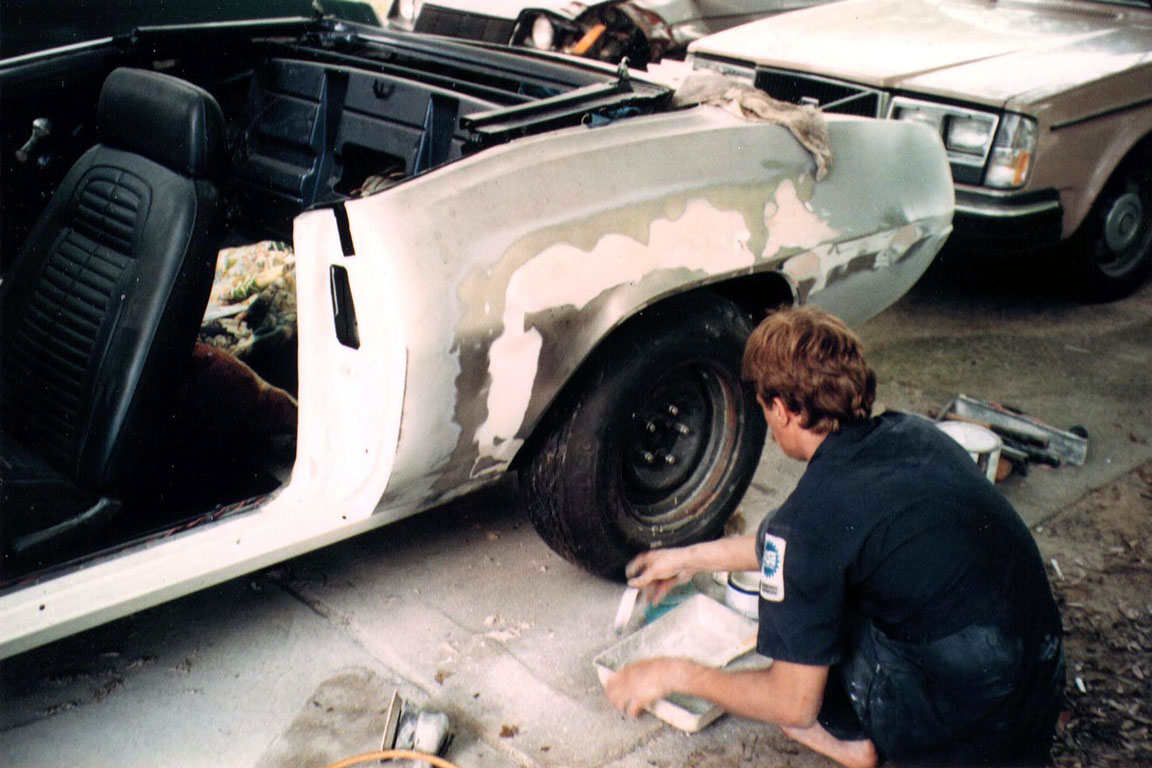
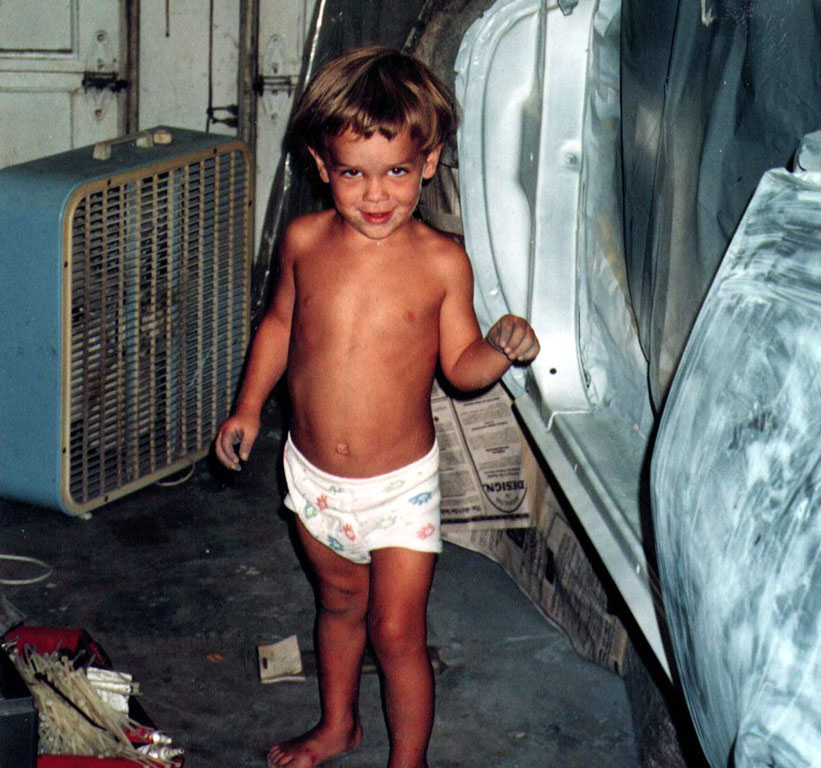
I had never done body work before so I started with some paint & body magazines. The short articles made it sound easy. I bought some tools and got started. Next, I solicited help from my children. The first picture shows Taylor with some sandpaper ready to go. The next picture show Skyler pealing off the back of the sandpaper to make it stick to his hand. Even Sarah is helping. She doesn't think that I will finish it. At times, I'm not sure either.

Taylor is ready to help  Skyler and Sarah Help

 
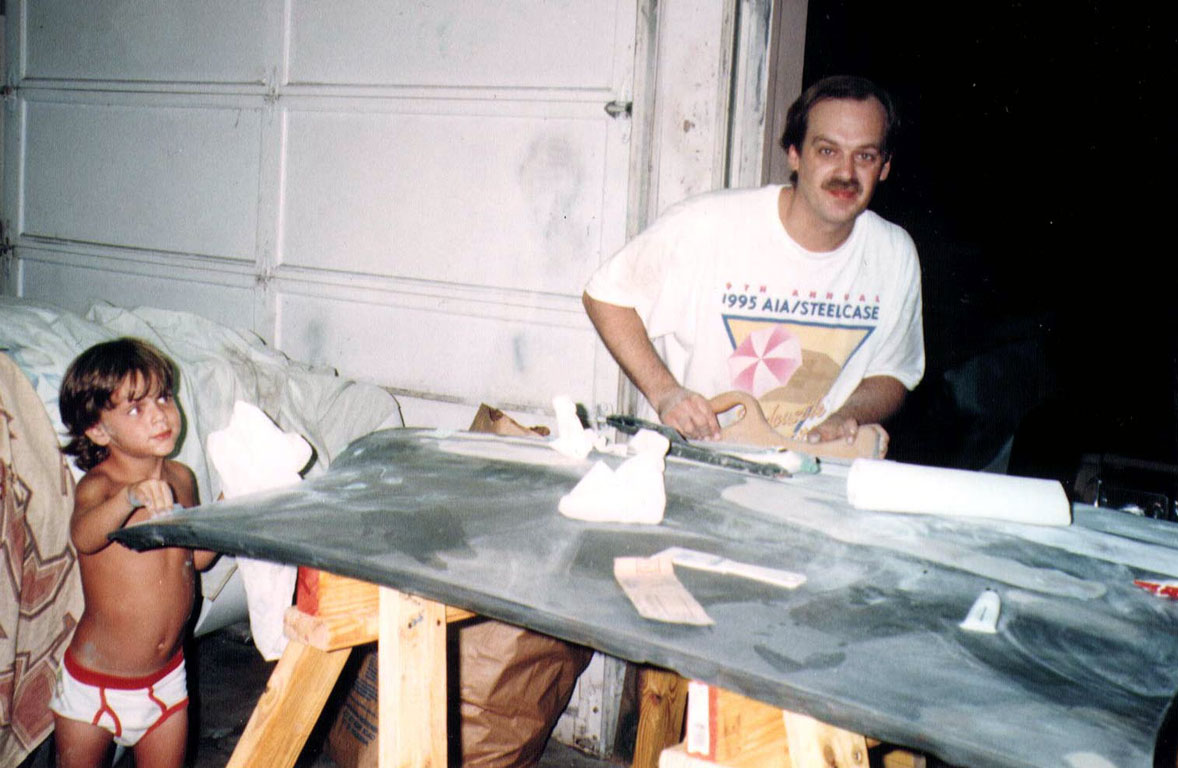
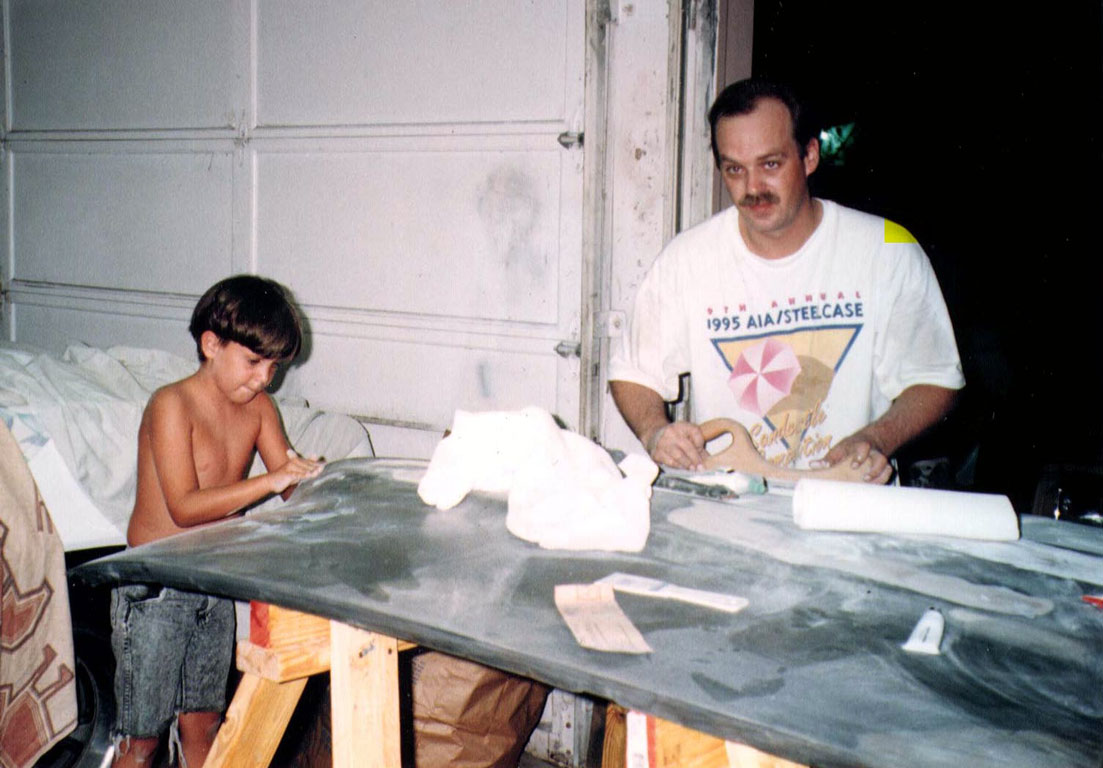
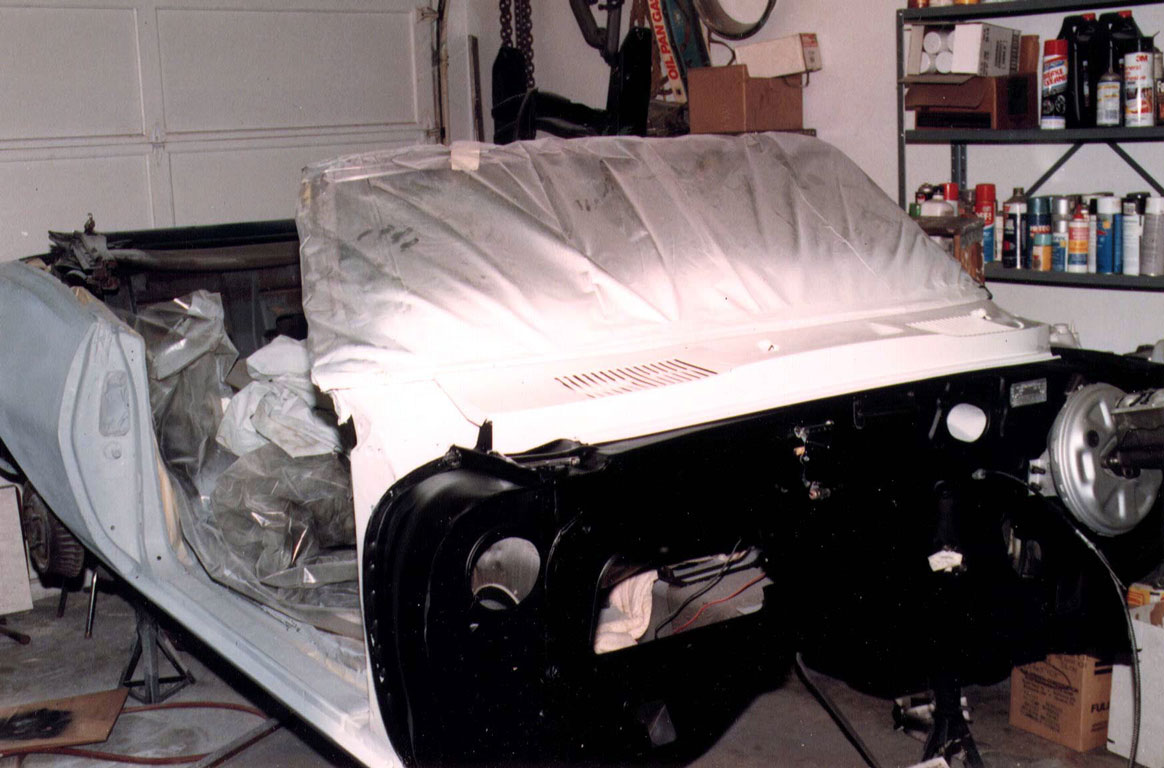
Here we are working on the hood....

Taylor watches  I like it when Taylor helps  Skyler likes to help too

 
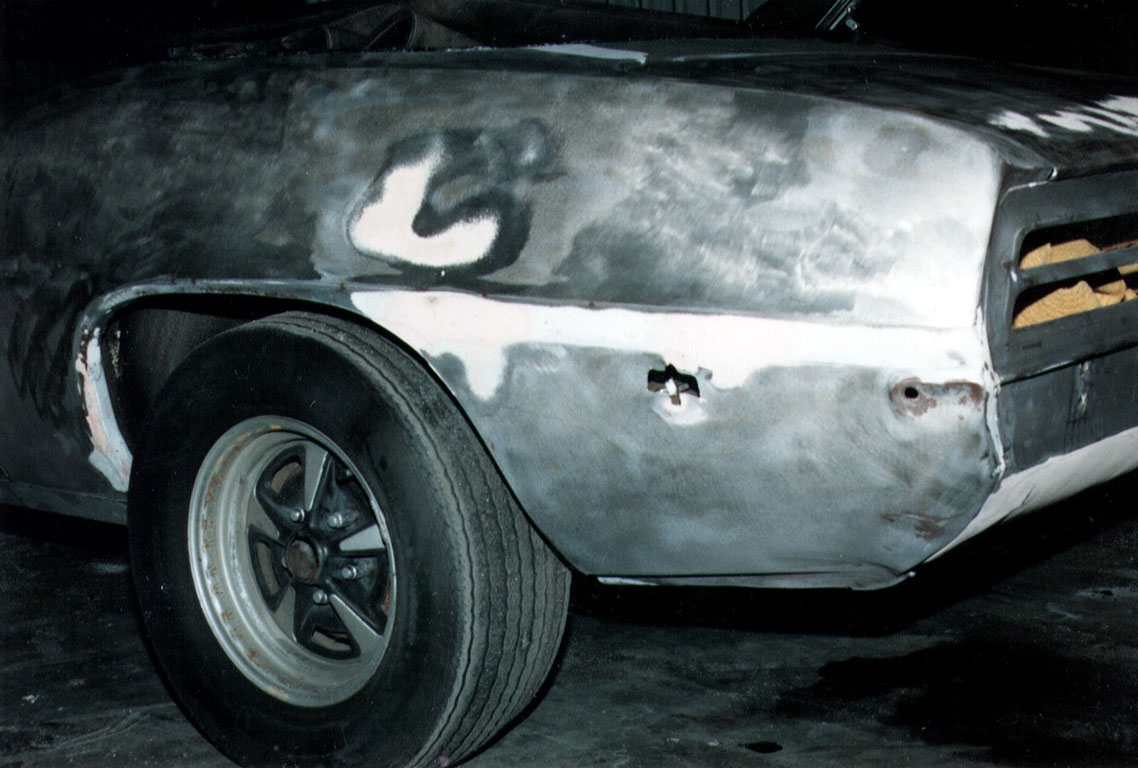
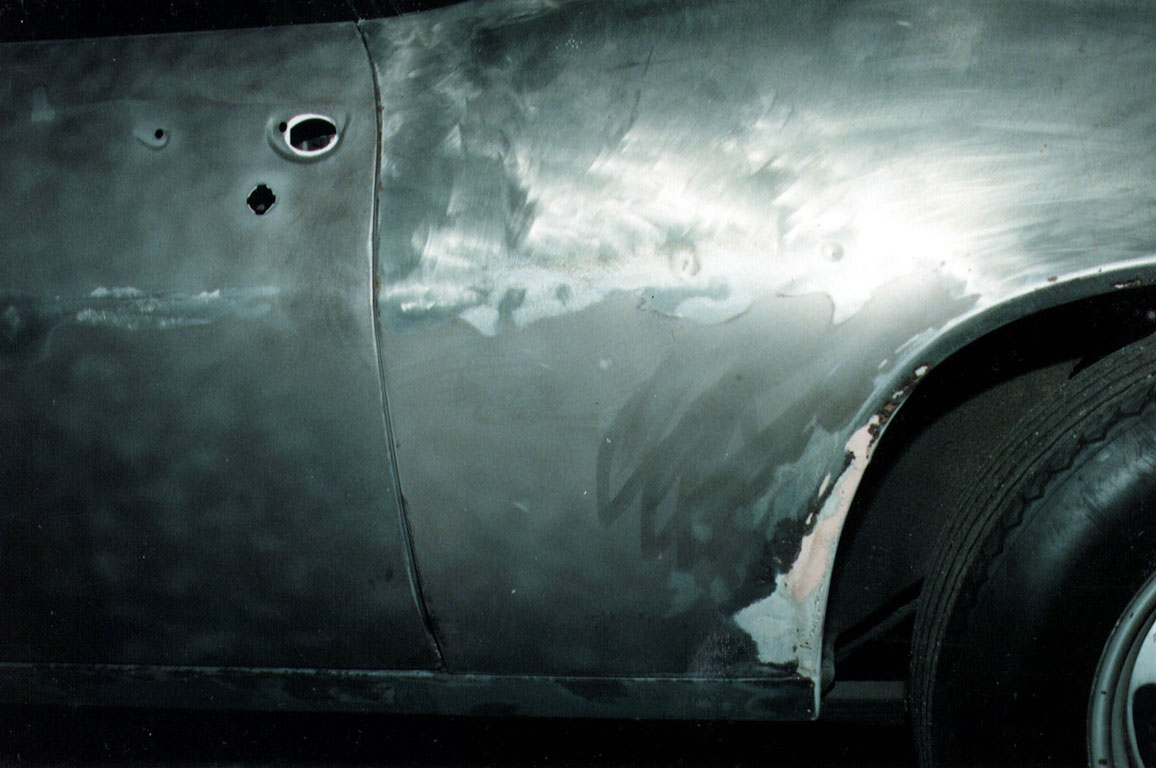
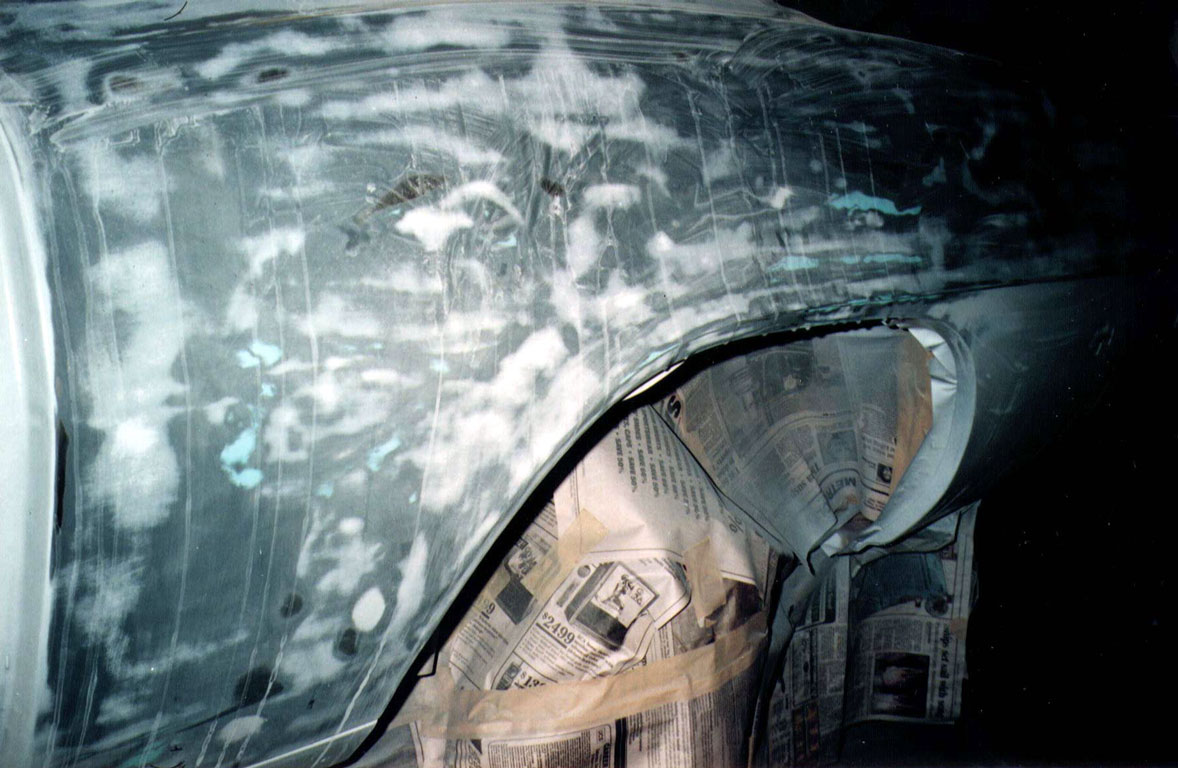
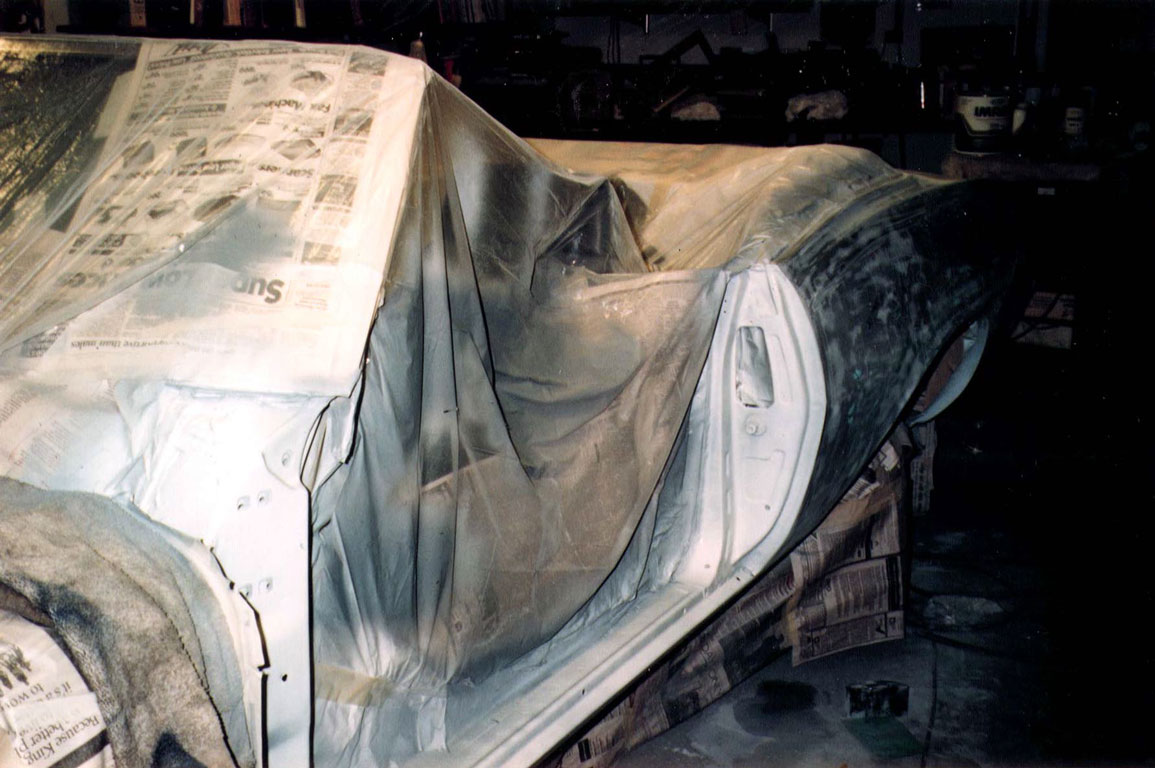
Some surface rust was beginning to form on the naked car. I took care of the easy spots, put some metal etch on and gave it a shot of primer. Next, I disassembled the rest of the front end, including the frame. Everything was removed, cleaned, primed, painted, lubricated and re-installed. When I saw the car with nothing in front of the firewall, then I knew that I must be crazy. I wondered if she would ever be on the open road again?
 

1 Bead Blasted

2 Bead Blasted

This is the right rear quarter panel. After sand blasting, the rear lower patch panel is more evident. The rust in front of the wheel well needed attention. It was cut out and replaced with fresh steel from the parts car.

3 Welding

The panel is cut and welded into place.

4 Bondo

A rough coat of bondo is applied and sanded.

5 Mark helps with bondo

My brother, Mark is helping me with the bondo and sanding.

6 Wet Sanding

This is the quarter panel after many coats of wet sanded primer. I used alternating colors to help see how much I'm sanding off. It feels great to the hand.

7 Wet Sandings

Lots of wet sanding, skim coats of body filler, and more primer. It seemed like I was sanding off more primer than I was spraying on. (A typical beginners problem)

8 Taylor checks on Dad

Here's my helper again. Taylor is very interested in my work. I like it.
9 Paint On!

Here’s the same quarter panel with some paint on it. It's not very shiny yet, but it will be.


Prime Complete  Prime Complete

With the primer and body work complete…..


Body Tag

This is the body tag with the VIN number other codes.

Normally this is painted black same as the firewall

but I liked it better cleaned. It's made out of stamped aluminum.

 
Under Carage
Here I'm cleaning the underside also. It was caked with undercoating.


Click on "Paint" to go to the next page or jump to any page with the links below....


Back to the beginning

Back to the Beginning


Intro The Challenge Strip Body Work Paint A/C Engine Top Interior Show Time Specs Cruise Parts for Sale Insurance H.A.L.F.


©Carl Matthews 1998,2003